
Lippisch Storch 5
John wanted to create a vintage model of a similar style of scale construction and a polished ply and fabric finish that could be flown on his local club flying site without the need for a tug aircraft to launch it. Having come across the design of the Storch 5 John saw a challenge in creating the flying wing which had a small motor driving a pusher prop. The configuration lent itself to electric power and with a sufficiently large motor john felt that it could be made to self launch.
The model was designed to a scale of 40% as the biggest size that could be broken down into small enough pieces to fit in an airline friendly transport box so that John could take it with him on his foreign trips.
Radio is Futaba using an 18SZ transmitter and R7008SB receiver
Servos are Hi-tec D645MW operating elevons, tip rudders and aerotow release.
Electric motor is an Eflight 160 running on 10S Ombo 5200mha Lipo's made up of 2 x 5S packs. The speed controller is an EnErG Pro B 120 SBEC. The prop is an Aeronaut 18.5 x 10.
Flying weight of the model is 15.5kg
This model has now been sold but John still flys it on behalf of the new owner.
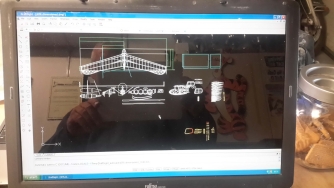
Design of the model was done by John using Draftsight, a free CAD programme. Designing in CAD makes it simple to produce cutting files for those parts that would be later cut on the teams CNC cutting machine.
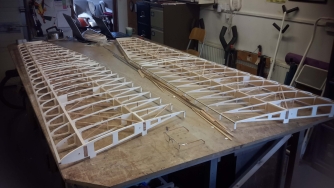
Work started with the wings. The design called for the wings to be in 4 pieces for easy transportation. Joiners were built into the spars during their construction and then the wings were constructed as left and right panels and only on completion were the spars and joiners cut through to seperate the outer panels.
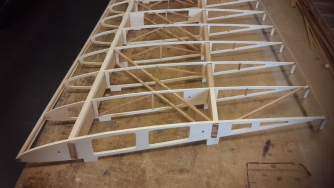

Wing ribs were individually built from a 3mm lite ply outline with 3 x 4mm uprights and diagonals added. The ribs were cut with jigging tabs to ensure the correct reflex and washout was maintained during construction. Scale diagonal braces were built in as construction progressed to ensure the wing had sufficient torsional stiffness which is critical on swept wing models.
Ply sheeting was added to the wing in a combination of thicknesses ranging from 1mm at the root end through 0.8mm to 0.6mm at the tip. The ply was cut to scale panel sizes and each joint between the ply sections was sanded to a 10 to 1 scarf joint to ensure strength. Great care had to be taken to ensure each join was accurate as with a polished ply finish, no filler could be used.
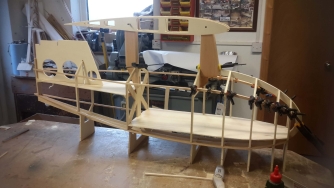
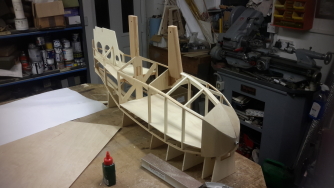
The fuselage was constructed on a jig made by extending each of the formers down to a datum line and the extensions fixed to the bench. Due to the very tight curves at the nose, each of the fuselage stringers was laminated to make the curve.
Sheeting on the fuselage was 1mm ply at the nose and 0.8mm at the rear. Each panel was added in the scale location and scarf jointed to the adjacent panel
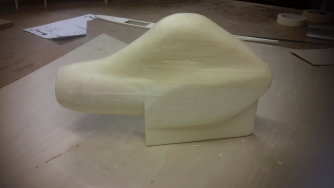
The very unusual motor cowling and cooling intake was created by carving a foam master that was then covered in glass cloth and epoxy resin. Once cured the foam was dug out and the cowling finished with a light coat of epoxy filler that was sanded back to a finish.
Model completed. Covered with natural Solartex over the open structure areas and the ply areas stained with Ronseal antique pine varnish. The whole model was then covered with 2 coats of Epifanes polyurethane varnish to give the high gloss finish.
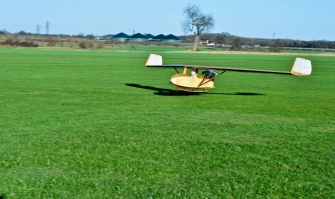
The original Storch only has a skid so a droppable dolly was designed to allow the model to take off under its own power.
Photo taken during the design and trial fitting of the dolly.
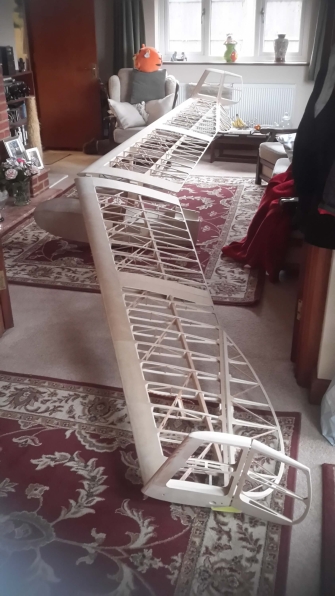
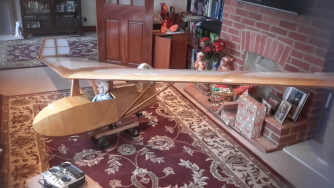
First dry assembly in the lounge to check alignment and to set up the control surface linkages.
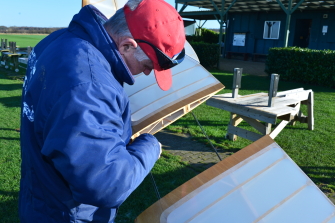
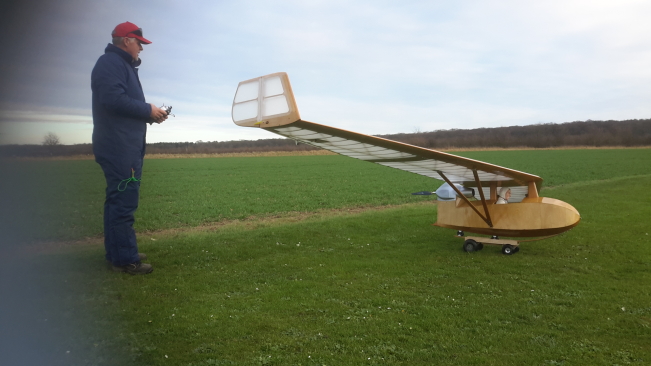
Rigging the model ready for the first flight
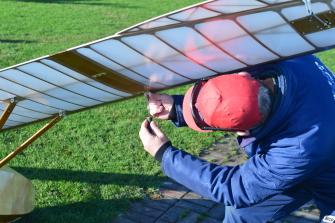
Attaching the outer wing panels.

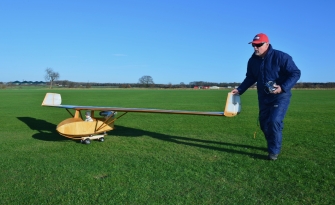
Towing the Storch out to the runway.
Here we go. Start of the first take off attempt.
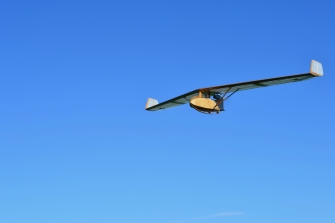
Home safe and sound after a very successful test flight.
It flys.


| Visitor Counter: | |||||||
 |  |  |  |  |  | ||